I thought I’d revive and recycle this old thread. This deals directly with the DMP remote, or rather replacing it with something else.
Here’s a little trick for those who want to access their inner Oppo. By inner Oppo, I mean the BDT-101 inside your DirectStream Memory Player. This is Stupid DMP Tricks Part I:
You’ll need few things before you start:
- A Philips screwdriver.
- Some thick double-sided tape.
- A USB-powered infrared remote extender like this one.
Ideally, you should select one that has the shortest cables possible and has a transmitter that is designed to broadcast a short distance rather than be placed directly over an IR receiver. It should also be powered by a USB port rather than a wall-wart.
An Oppo remote handset or a universal IR handset that can be programmed with Oppo codes. I know that the remote for the BDP-83 works and I suspect that the handsets for the 93/95/103/105 also will work but can’t confirm that as I don’t have those. I have no idea if the 203/205 handsets will work.
Step 1: If you have a disc loaded in the unit, remove it and close the tray. Turn off the unit and unplug all cables.
Step 2: Turn the unit upside down on a soft surface taking care to not scratch the glossy top. Using a Philips screwdriver, remove the four screws from the bottom of the unit that restrain the cover. Grasping the unit firmly by the sides and leaving the cover free, slowly lift up. The cover should slide free of the case and remain on the work surface.
Step 3: Turn the unit upright and place in a well-lit location with the rear of the unit facing you. Note the major components: the drive mechanism at the upper right; the Oppo BDT-101 board taking up the center of the unit; the power supply board on the far left; and the PS Audio interface board of magic at the back of the unit. You’ll notice a series of unused ports, jacks, and fixtures along the rear of the Oppo including Ethernet ports, HDMI ports, USB ports, and RCA jacks.
Step 4: Between the Ethernet ports on the left and the RCA jacks on the right is a small upright fixture with a shiny black lens. This is the read IR sensor. Just to the right of this is a small white switch. The switch controls whether the board uses the front sensor (which doesn’t appear to be installed) or the rear sensor. We want to use the rear sensor. To select the rear sensor, move the switch to the left (assuming the rear of the unit is facing you).
Step 5: Plug the USB connector of the IR extender into one of the USB ports on the Oppo board – it doesn’t matter which one.
Step 6: Attach the IR transmitter of the IR extender to inside of the rear plate of the unit’s case directly behind the IR sensor. Use some of your double-side tape to do this. The adhesive strip that came on the extender I purchased was pretty wimpy and needed to be replaced.
Step 7: Tuck the rest of the cabling between the USB port and the transmitter into the case somehow. The extender I bought had way too much cable for this purpose, so I cut and spliced it into a more manageable configuration. Try to get an extender with the shortest cables you can find.
Step 8: Drape the cable to the receiver over the edge of the rear of the case leaving enough cable to place the receiver in a location visible from your listening location.
Step 9: Reinstall the cover of the unit by carefully lowering it into position taking care to not pinch the transmitter cable. There is a joint on the rear of the case near the right corner (with the rear facing you) that makes a good spot to route the cable between the case and the cover. Turn the unit over while holding on to the cover and sides and place on the soft work surface. Reinstall the four screws that hold the cover in place.
Step 10: Return the unit to its shelf and reattach the cables. Position the IR receiver so that it is visible from your listening location. Turn the unit on.
Step 11: Use the Oppo remote. If you have the IR extender shown above, a red LED will flash in the receiver whenever it detects an IR signal.
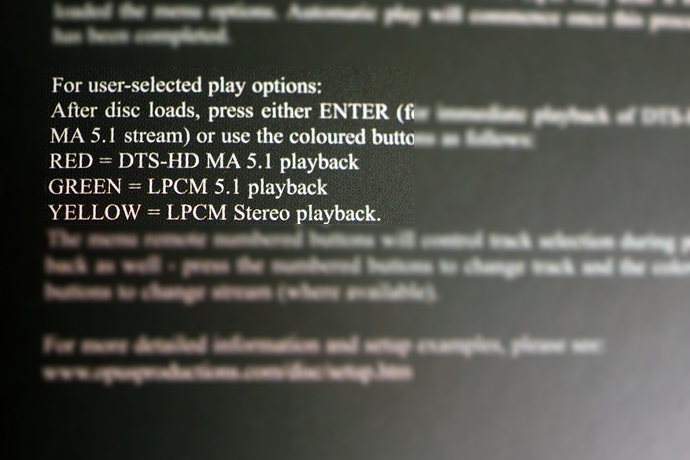
You might wonder why you should bother with all of this when the DMP comes with a perfectly good remote. Aside from being more responsive than the PS Audio handpiece, what the Oppo remote provides is access to functions that aren’t on the PS Audio remote. The most notable of these are the arrows and the red, green, blue, and yellow buttons that are key to headless navigation of certain DVD and BD titles. If you play only CDs in your DMP, this will be of little value. However, if you long to have better control over DVD-A and BluRay navigation, the Oppo remote is essential.
Enjoy. Perhaps I’ll write about some of those other ports in the next installment of Stupid DMP Tricks.


